Sat 9 Jan 2021
Wait on Smoking Ribs!
Posted by DrSmokeRead other related stories: Cooking With Wood , General Smoking Information , Smoking wood chunks
No Comments

Our Neighbors at the BBQ don’t understand to Wait on smoking ribs!
Wait on smoking ribs if you are a beginner Share on X
Story time on Smoking Ribs:
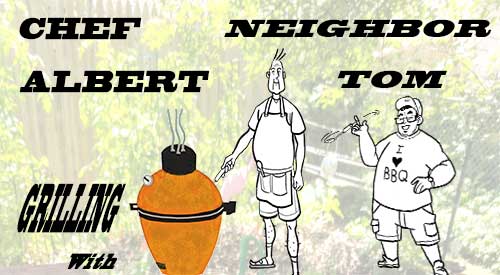
Let me tell you a story about my neighbor, Tom, we can all relate to.
A few years ago, Tom, a semi-trained Chef, wanted to smoke some food. So like all newbies, Tom went off to a box store, picked out a smoker ( offset), loaded a big bag of charcoal, a big plastic bag of wood chunks; next stop was at the butcher for three racks of ribs! Arriving at home he assembled the smoker, filled up the firebox with charcoal and wood, put on the rack of ribs and cooked them for hours. Finally, before dusk, he presented his charred masterpiece to the family!
Oh, he claimed to love the over-smoked taste! Politely and begrudgingly, the family told him how good the ribs tasted! Well, the smoker never was used again, went to the garage sale, the massive amount of wood went to the campfire, the charcoal lasted the summer for the kettle grill! The moral here is “wait to take on the rib”! Dr. Smoke doesn’t want this to happen to you! So, here are some suggested tips to follow!
First, go purchase the smoker/grill of your choice; next purchase a bag of quality hardwood charcoal; go home and assemble the unit. Then take some vegetable/olive oil and coat the grill! This is what is called seasoning.
Burn #1: start a charcoal fire in the unit or firebox and let it bring the unit up to temperature (250 degrees F)- do not put any food in the unit! Then let it cool down overnight!
Burn #2: start a charcoal fire in the unit or firebox, bring to around 200 to 225 degrees F. then put on some pork or beef hot dogs in the unit, then time the cook, sample the dogs for flavor, watch for hot spots and learn how to smoke- this is not charring. Learn the smoking process in your unit!
Burn #3: start a charcoal fire in the unit or firebox, bring to around 200-225 degrees F, then put on some chicken legs or thighs. No chicken breast-you need something with a bone. Time the cooking and taste the product!
Now order a SMALL number of wood chunks or chips from SmokinLicious®.
Burn #4: do the same as burn #3 only reduce the amount of charcoal and add SmokinLicious® chunks/chips to produce the smoke. Again time the cook, taste the results. Chicken is like a sponge it will absorb a lot of smoke so be careful when adding the quantity of wood.
Additional Story–
I once heard from a husband of a very good competitive barbequer that he would come home for dinner an asked what was for dinner and she would say chicken! Three months later he came home and it was still chicken! She cooked chicken every night until it was the way she wanted! The moral is: constant practice made her the best in the chicken category of competitive BBQ!
Continue Burn#4 until you feel that you understand the amount of charcoal-wood mixture to control the amount of smoke. Learn to control the smoke to our taste family’s level!
Once you have your taste and technique under control then you’re ready for the rib! Adjust your times and smoke for the type of meat (beef versus pork)!
Hopefully, once you’ve applied these tips, your smoker will only be in the garage sale because you are upgrading to a newer unit! So don’t be a neighbor Tom- be the King of the Family Q!
Bon-Bar-B Que!

More Related reading about waiting on smoking ribs and other grilling ideas
- What Wood for Smoking: A Primer
- Why Two-Zone Cooking Method- Let’s You Walk Away From the Grill
- Cuts of Meat That Grill & Smoke Well …
Products

Dr. Smoke- New to Smoking then Wait on smoking ribs. Practice on easier meats first!