SO YOU WANT TO MAKE YOUR OWN DRY RUBS Share on X

Listen to the audio of this blog

I love the idea of making your own dry rubs for a variety of reasons, but primarily to allow the cook to control the amount of salt and sugar, two ingredients that are in high ratios for many jarred rubs.

This guide is intended to provide tips to achieve a balance of flavors in the ingredients selected. I’m also going to provide listings of ideal ingredients for specific proteins to help stimulate your creative juices.

Dry Rubs Made Easy- Percentage of Water

Before we begin with the actual ingredients for dry rubs , let’s discuss the composition of meat and poultry and why you need to be aware of water content.

Although you may not think of water this way, water is a chemical and it is the dominate one in meat, followed by protein and then fat. For a less active, mature, “fat” animal, water can be 45% of the composition but for a younger, leaner animal it can be as much as 72% moisture. Remember, fat cannot hold water. Texture, color and flavor are affected by the amount of water in the muscle tissue. Water that is retained during forces of pressure and temperature is referred to as “bound water” while water that is lost is called “free water”. You can change the capacity of the muscle to hold the water by disrupting the muscle structure. Examples would be grinding, freezing, chopping, thawing, and salting meat.

Dry Rubs- Salt and Sugar

Hopefully, you are aware of the ingredient rule that states the first few ingredients listed on a nutritional label are the highest percentages of that item. That means, when you see salt and sugar listed in the top three ingredients, note that those dominate the rub .

Research has shown that higher salt content works very well with cuts of beef, fish, and wild game. Pork tends to do well with rubs that contain higher sugar levels. However, I tend to avoid putting salt into my rubs, preferring to add by hand when the food is ready.

Let’s breakdown the types of salt and sugar so you know how to incorporate them.

Table or Refined Salt: a fine grade salt that is made by dissolving in water which removes everything but sodium chloride. These usually have an additive to prevent them from caking in dispensers and may also contain an iodine additive.

Kosher Salt: a coarse grain that may have an anticaking additive, it is slower to dissolve on food surfaces.

Sea Salt: most are refined producing just over 99% sodium chloride but the grain size can vary from brand to brand.

Pickling Salt: contains no iodine or anticaking additive and dissolves well in water making it ideal for brine recipes

Seasoned Salts: a refined salt that contains a flavor ingredient such as garlic, onion, celery

Curing Salts: these should never be used as an ingredient in a rub as they are designed to preserve meats, which means they include nitrite and possibly nitrate.

White Sugar: this is a highly refined cane or beet sugar that can scorch at higher temperatures

Brown Sugar: this is white sugar combined with molasses so it tends to add more flavor

Dry Rubs- Pepper

It’s important to have some level of heat in your rub to balance the sweet and savory ingredients but you need to have a tempered hand to ensure that you don’t add to much. Let’s look at the pepper options:

White Pepper: considered the gentle pepper, it’s light in color and flavor with just a warm heat undertone.

Black Pepper: this can be fine or coarse and has much higher heat level than white and some cayenne peppers.

Cayenne: although I’m listing this separately due to its popularity, cayenne is a chile powder known as ground red pepper, the heat level is front of the line which means you need to add small quantities and taste before adding more.

Chile Pepper: these are the peppers that have a wide variety of heat levels. Common names include: Ancho, Chipotle, Pasilla, New Mexican, Guajillo, Habanero, Jalapeno, Bhut Jolokia, Aji Amarillo.
Dry Rubs Transition- Spices and Herbs

(more…)

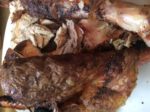
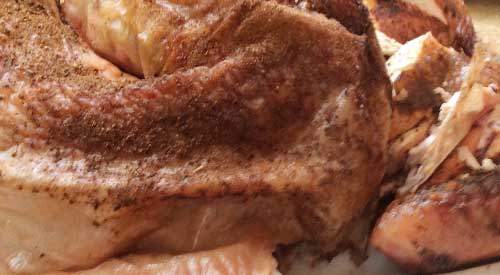
Our not so smokey Smoked Turkey is from cooking this on the gas grill, not on a smoker. We selected this photo because of the great color- not dark like a traditional smoker can impart!

Our not so smokey Smoked Turkey is from cooking this on the gas grill, not on a smoker. We selected this photo because of the great color- not dark like a traditional smoker can impart!

THE NOT-SO-SMOKEY SMOKED TURKEY Share on X

Listen to the audio of this blog

Listen to our blog #smokinlicious- smoked turkey

Turkey is one of those items that is generally made for a special event – Thanksgiving, Christmas, New Year – and not associated with everyday cooking. I’m here to tell you that it’s easy to enjoy turkey any time of year when you use a gas grill for the cooking and smoke infusion. All you need is a turkey (preferably one under 15 lbs.), 6 wood chunks, a water pan with hot water, and your favorite gas grill.

Smoked Turkey- Turkey 101 Prep

Preparing the Turkey

#freshturkey

I’m fortunate to have a local fresh turkey farm, Sprague’s Turkey Farm in Portville, NY, close by so I’ve ordered one that is under 14 lbs. Before preparing the turkey for marinating overnight, I first need to remove the parts that are commonly found inside the turkey. This includes the neck, heart, liver, and gizzard which is part of the turkey’s digestive tract. These parts do make for great stock so if you can, save them to add to a stockpot down the road.

Once the organs and neck are removed, it’s important to wash the entire turkey under running water. After a thorough wash, pat dry with some paper towels and place in a shallow pan for the rub application.

Herb and Spice Rub

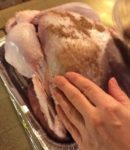
Gently placing the rub on the outside of the Turkey

#turkeyrub

After washing and patting dry the turkey, I trim the excess skin from the neck area and then begin applying the rub. I’ve combined an assortment of herbs and spices for my rub as I tend to like a potent mix of ingredients to balance the fresh meat and smoke. My rub includes: allspice, clove, basil, cumin, cardamom, coriander, cinnamon, celery salt, garlic and onion powder, oregano, orange and lemon peel, paprika, and ancho chili powder. I make sure to cover the entire surface of the bird. I add a few drops of avocado oil and then apply additional rub. This will be refrigerated overnight to allow the flavors to marry and penetrate to the meat.

Tasting Notes: Feel free to incorporate different herbs and spices in your rub as there are no rules when it comes to combinations.

Smoked Turkey- Smoking on the Gas Grill

Placing the Turkey on the grill

#twozonecooking

As you can see in some of the photos, this was a cold day at the grill, with a temperature below 25°F. I prepare my LP/Gas grill by first removing one of the grill grates, exposing two of my burner shields. To one of the shields I place 3 double filet wood chunks from SmokinLicious®. Now I lite only two burners; the one with the wood chunks and the one directly next to that. I set these burners to medium heat to start. Just before I’m ready to grill, I check the temperature readout and adjust my heat setting until I hit my target temperature of 325°F.

Time to add the rubbed turkey to the unlit side of the grill and my water pan right next to the bird. I insert a thermometer and close the lid. Basically, for the next couple of hours, I just need to monitor that the water pan has enough hot water in it and the bird gets spritz with water to keep the skin moist.

Tasting Notes: Although I’ve placed my water pan to the side of my turkey, between the lit and unlit sides of the grill, you can use this as a drip pan and place this directly under the turkey. I elected not to do this today due to my low outdoor temperature.

Time to Serve Your Smoked Turkey!

Our not so smokey smoked turkey on the table for all the guests to enjoy

#turkey

If you’ve maintained the steady temperature of 325°F and hot water in the drip pan, you won’t need to stay with the grill during most of the turkey’s cooking time. My skin has crisped up thanks to maintaining moisture both on the bird’s skin and in the cooker with my water pan. I remove the turkey and take it to the kitchen where I cover it for about 30 minutes prior to carving. It’s super tender, moist, with a crunch to the skin. The best part is that the smoke is subtle and does not over power the fresh meat.

That’s why the two-zone method of smoking is perfect when your feeding a variety of tastes. Those that tend to avoid smoked foods will find this full of flavor that is well balanced due to our rub and consistent cooking temperature. My turkey of 13-1/2 pounds took just about 4 hours to finish with very little effort on my part, even with a 22°F outdoor temperature and wind chill. The best part is my oven was free to cook a bunch of side dishes so everything was timed perfectly for the table.

What’s your favorite preparation for turkey? Bringing innovation to wood fired cooking with recipes, techniques and the science behind the fire, smoke, and flavor. That’s SmokinLicious®.

SmokinLicious® products used in this blog:

Wood Chunks- Double Filet

More Related reading

More related reading on Smoked Turkey and the different methods of preparation1

Additional reading:

-WHY TWO-ZONE COOKING METHOD LET’S YOU WALK AWAY FROM THE GRILL

-SMOKE A TURKEY- LEARN HOW

-SMOKED HAM ON THE GAS GRILL

-CORNISH GAME HEN MEETS SMOKE IN THE ORION COOKER

Dr. Smoke- Everyone forgets about the extra oven almost everyone has- the lp/gas grill! So this year we prepared smoked turkey using the gas grill with wood chunks providing the smoke!

Dr. Smoke- Everyone forgets about the extra oven almost everyone has- the lp/gas grill! So this year we prepared smoked turkey using the gas grill with wood chunks providing the smoke!


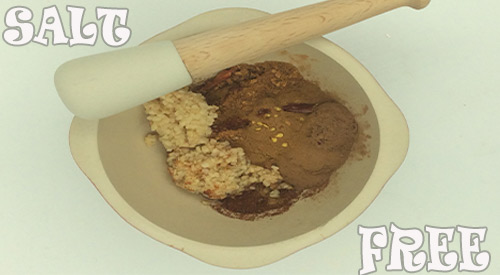
Our salt free spice rub in our mortar and pestle

Our salt free spice rubs in our mortar and pestle


Spicy & healthy for any protein!

listen to our blog


Skip the bottled marinades and seasonings that can be loaded with sodium, and make your own salt-free spice blends!

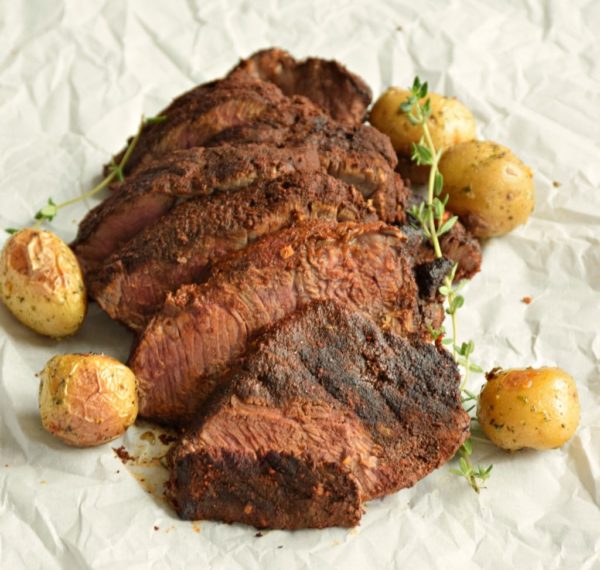
For Beef

salt free spice rubs photo of Beef with salt free rub courtesy of Festival Foods

photo courtesy of Festival Foods

Ingredients:

  • 2 Tbsp. ground ancho chili powder
  • 1 Tbsp. minced garlic
  • 2 tsp. unsweetened cocoa powder
  • 1 tsp. ground cinnamon

For Pork

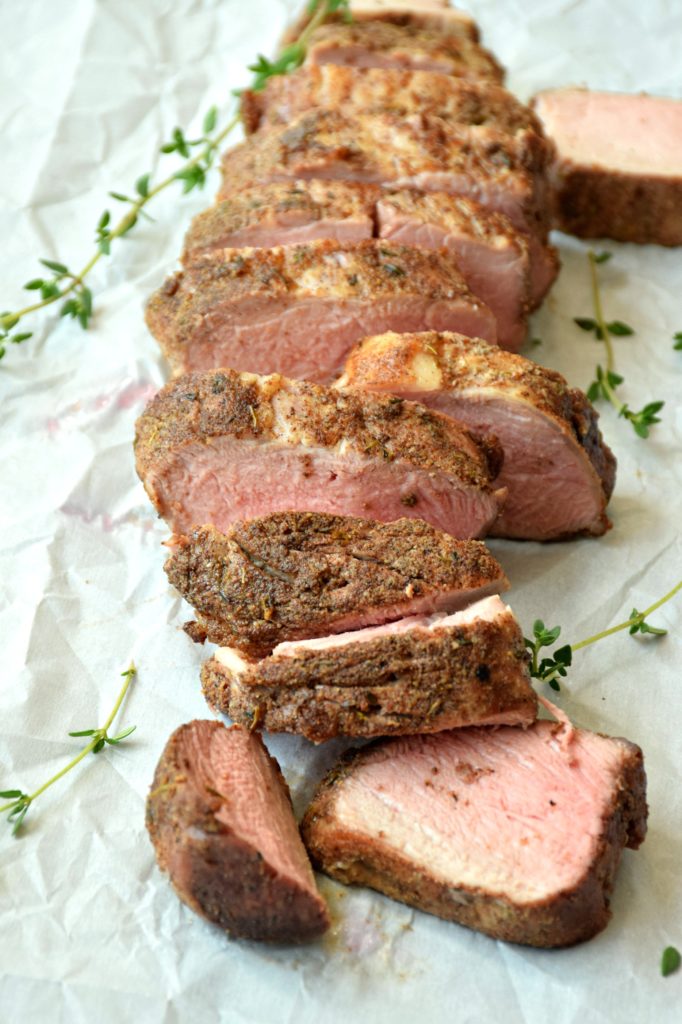
Salt free spice rubs Pork Tenderloin with salt free rub courtesy of Festival Foods

Photo courtesy of Festival Foods

Spice Rubbed Pork Tenderloin Recipe adapted from Cooking Light

Ingredients

  • 1 tsp. sugar
  • 1 tsp. garlic powder
  • 1/2 tsp. ground allspice
  • 1/2 tsp. ground cumin
  • 1/4 tsp. ground thyme
  • 1/4 tsp. ground nutmeg
  • Ground cinnamon- 1/4 tsp.
  • 1/8 tsp. ground red pepper

Additional reading:

-PREPARING FOR ENTERTAINING

-SMOKED BEEF SHORT RIBS

-CORNISH GAME

HEN MEETS SM

OKE IN THE ORION COOKER

Dr. Smoke- "Thank you Dietitians from Festival Foods for these two wonderful recipes that everyone should try!"

Dr. Smoke- Food labeling is important for health and food safety. It should apply to all smoked foods!

In Harvest Recipe for September: Smoked Fingerling Potatoes

As a new feature to our blog and recipe section, we will be highlighting a seasonal product in a smoking or natural wood-fired grilled recipe, to help you take advantage of the wonderful seasonal offerings we have for fruits and vegetables. For the most part, we will be following the harvest schedule in the Northeast but may occasionally make reference to a different region’s harvest schedule. This feature will help introduce you to all the flavorful charms and tasty benefits of smoking freshly harvested foods!

For September, we our highlighting potatoes! One of my favorite variety of potatoes is Fingerlings. Feel free to modify the recipe below for smoked fingerling potatoes to your preferred ingredients.

Smoked Fingerling Potatoes with Pancetta and Dill

Ingredients:

2 lbs. fingerling potatoes*, scrubbed and cut into ½-inch lengths

1/4 cup olive oil

½ lb. thick sliced pancetta*, cut into 1/3-inch cubes, cooked

salt and fresh ground pepper

1 onion, thinly sliced

1/4 cup finely chopped dill or 2-1/2 Tablespoons of prepared dill

* may substitute any variety of potato and regular bacon for the pancetta

Wood Recommendations:

Wild Cherry and Ash hardwoods (cherry for a tart flavor and Ash for its moisture infusion)

Tear a large piece of foil to make a pouch or use a disposable cake foil pan. If using a disposable pan, also cut a foil sheet that covers the pan.

Place the pre-cut fingerling potatoes, cooked pancetta, sliced onion, and dill in the foil pan or pouch. Add salt and fresh pepper to preference. Toss all ingredients together then drizzle the 1/4 cup of olive oil over the ingredients. Mix thoroughly.

Place foil pan or pouch on pre-lite charcoal grill, with woods placed directly under the mixture. Allow to cook/smoke until potatoes become tender (about 2-1/2 hours at 200 degrees). Serve your smoked fingerling potatoes warm.


« Previous Page